
Die Level Services © 2021


MicroElectronicpackaging / AssemblySolutions Fast 4U


“As long as people have been in the business of inventing, others have been in the business of faking their inventions”
X-Ray inspection techniques to identify counterfeit electronic components
Radiography (or x-ray inspection) is a ubiquitous technique to all recent and upcoming counterfeit detection standards, including IDEA 1010B, CCAP 101, AS5553, AS6081, and AS6171.
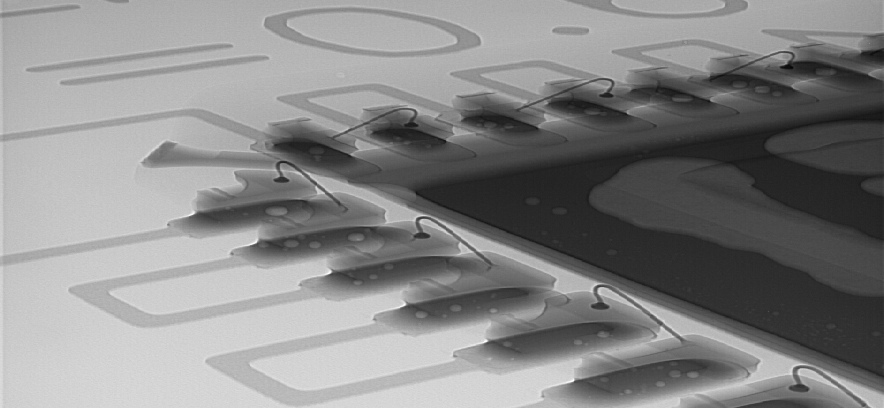
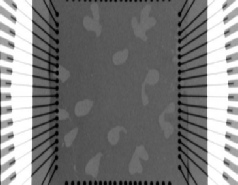
X-ray inspection gives you the unique ability to “see” what is inside an electronic component without damaging it. To illustrate how x-ray images represent an electronic component, Figure 1a shows a simplified side view diagram of a typical plastic molded part.
The dark regions in the x-ray image represent dense areas in the component. Conversely, the light areas represent light areas in the field of view.
For this reason the area around the component is represented in white. The x-rays traveling through the different density areas of the component under inspection cast a shadow onto the camera. Thus this x-ray imaging technique is also known as a shadowgram.
X-Ray Analysis
Technology is ever changing and as electronic components become even more miniaturized, only high-resolution and magnification X-ray technology provides the means necessary to inspect such components.
Typical inspection tasks includes:
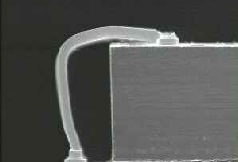
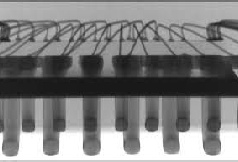
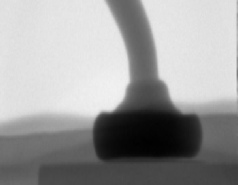
- Inspection of bond wires and bonding areas
- Void analysis of conductive and non-conductive die bonds
- Inspection of flip-chip solder joints in processor cases
- Analysis of discrete components such as capacitors and inductors
Since it is important to be careful while searching for potential break points, open solder joints or cavities it is also important to measure the size of pores and their distribution. But these studies are carried out automatically. If such defects occur, they should be investigated whether an improvement in the production process is possible.
The objective is to find open solder joints or voids in the analysis of potential break points. Also the measurement of pore sizes and their distribution is important. But these studies are carried out automatically. If such defects occur, the object should be investigated with the assumption if an improvement in the production process is possible.
Back to TOP
X-RAY ANALYSIS
Counterfeit Prevention, Fault Analysis


 Back to TOP
